Creating a Smooth Wire Feeding Path for MIG Welding
Following best practices and utilizing reliable, high-quality wire feeders and consumables will reduce issues and costs regarding wire feeding challenges.
Posted: November 26, 2021
WELDING TIPS
By Andy Monk
In MIG welding applications, having a smooth wire feeding path is critical. The welding wire must be able to feed easily from the spool on the feeder through the power pin, liner and gun and up to the contact tip to establish the arc. This allows the welding operator to maintain consistent levels of productivity and achieve good weld quality, while also minimizing costly downtime for troubleshooting and potential rework.
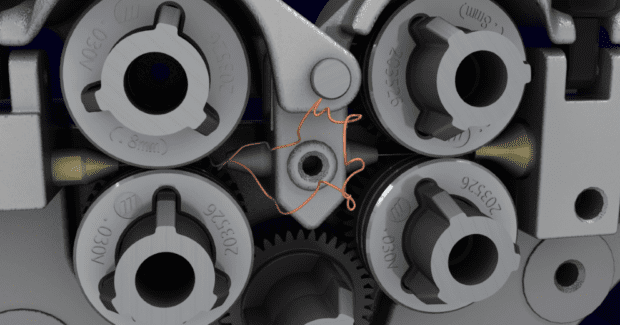
However, there are several issues that can disrupt wire feeding. These can cause a host of problems, including an erratic arc, burnbacks (the formation of a weld in or on the contact tip) and bird nesting (a tangle of wire in the drive rolls). For new welding operators who may not be as familiar with the MIG welding process, these problems can be especially frustrating. Fortunately, there are steps to easily prevent problems and create a reliable wire feeding path.
TRIM THE LINER CORRECTLY AND USE THE RIGHT SYSTEM
Welding liner length has a significant impact on how well the wire will feed through the entire path. Too long of a liner can result in kinking and poor wire feeding, whereas a liner that is too short won’t provide enough support to the wire as it passes through. This can ultimately lead to micro-arcing within the contact tip that causes burnbacks or premature consumable failure. It can also be the cause of an erratic arc and bird nesting.
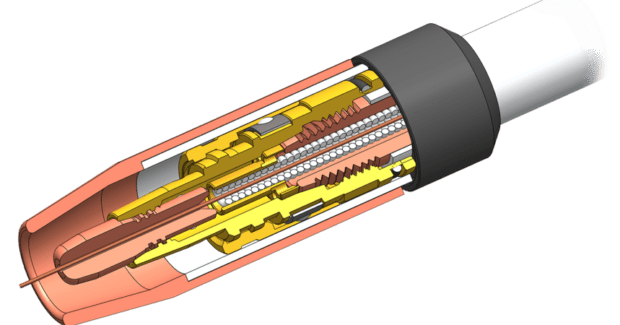
Unfortunately, welding liner trimming issues are common, particularly among less experienced welding operators. To take the guesswork out of trimming a welding gun liner correctly — and achieve a flawless wire-feeding path — consider a system that eliminates the need for measuring the liner for replacement. This system locks the liner in place at the back of the gun, allowing the welding operator to trim it flush with the power pin. The other end of the liner locks at the front of the gun at the contact tip; it is concentrically aligned between the two points, so the liner won’t extend or contract during routine movements.
When using a conventional liner, avoid twisting the gun when trimming the liner and use a liner trim gauge when provided. Liners with an interior profile that imparts less friction on the welding wire as it goes through the liner are a good choice for achieving efficient wire feeding. These have a special coating on them and are coiled out of a larger profile material, which makes the liner stronger and offers smooth feeding.
USE THE RIGHT CONTACT TIP AND INSTALL CORRECTLY
Matching the welding contact tip size to the diameter of wire is another way to maintain a clear wire feeding path. For example, an 0.035-inch wire should be matched to the same diameter contact tip. In some cases, it may be desirable to decrease the contact tip by one size to gain better wire feeding and arc control. Ask a trusted welding consumables manufacturer or welding distributor for recommendations.
Look for wear in the form of keyholing (when the contact tip bore becomes worn and oblong) because this can cause a burnback that prevents the wire from feeding.
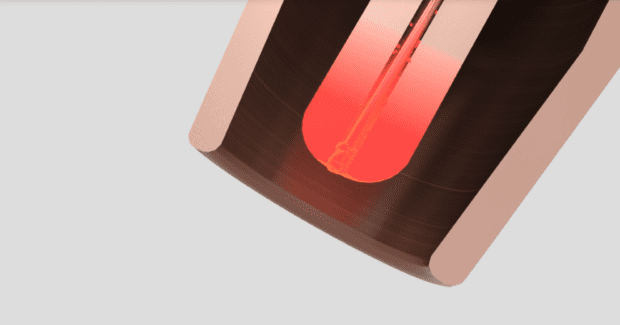
Be sure to install the contact tip correctly, tightening it past finger tight to avoid tip overheating, which can hinder wire feeding. Consult the operations manual from the welding contact tip manufacturer for the recommended torque specification.
CHOOSE THE RIGHT DRIVE ROLLS AND SET TENSIION PROPERLY
Drive rolls play a significant role in ensuring a MIG welding gun has a smooth wire feeding path.
The size of the drive roll should match the size of the wire being used and the style depends on the wire type. When welding with solid wire, a V-groove drive roll supports good feeding. Flux-cored wires — both gas- and self-shielded — and metal-cored wires work well with V-knurled drive rolls. For aluminum welding, use U-groove drive rolls; aluminum wires are very soft, so this style won’t crush or mar them.
To set the drive roll tension, turn the wire feeder knob to one half turn past slippage. Pull the trigger on the MIG gun, feeding the wire into a gloved hand and slowly curling it. The wire should be able to feed without slipping.
UNDERSTAND THE IMPACT OF WELDING WIRE ON FEEDABILITY
The quality of welding wire and the type of packaging it is in both affect wire feeding. High-quality wire tends to have a more consistent diameter than low-quality ones, making it easier to feed through the entire system. It also has a consistent cast (the diameter when a length of wire is cut off the spool and placed on a flat surface) and helix (the distance the wire rises from the flat surface), which add to the wire’s feedability. While higher-quality wire may cost more upfront, it can help reduce long-term costs by minimizing the risk of feeding issues.
Wire from large drums typically have a large cast when dispensed from the packaging, so they tend to feed straighter than wires from a spool. If the welding operation’s volume can support a larger drum, this may be a consideration for both wire feeding purposes and for reducing downtime for changeover.
MAKING THE INVESTMENT
In addition to following best practices to establish a clear wire feeding path — and knowing how to quickly troubleshoot problems — having reliable equipment is important. The upfront investment for a high-quality wire feeder and durable welding consumables can pay off in the long term by reducing issues and the costs associated with wire feeding problems. Less downtime means more focus on producing parts and getting them out to customers.


