Pocket-Sized But Powerful Mobile Surface Measurement System
Mahr’s portable MarSurf M 310 offers features that were previously available only in PC-based systems. Features including automatic creation of measuring reports in PDF format, integration of a barcode or data matrix scanner, and printing reports to letter size paper are all standard.
Posted: September 30, 2020
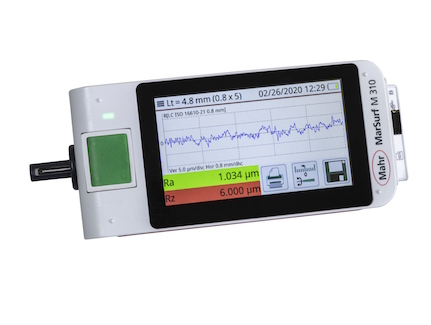
The successor to the MarSurf M 300, the MarSurf M 310 mobile surface measurement system from Mahr Inc. (Providence, RI) brings ease-of-use to new levels with a large, illuminated, rotatable 4.3-inch high-resolution touchscreen built into the unit.
The portable unit offers features that were previously available only in PC-based systems. Automatic creation of measuring reports in PDF format, integration of a barcode or data matrix scanner, and printing reports to letter size paper are all standard. An optional portable printer is available.
The unit also provides error-free operation through standard-compliant settings.
Automatic cutoff selection ensures the correct measurement results even for inexperienced technicians. A highly efficient battery allows for more than 1,200 measurements on a single charge. Integrated memory enables more than 500,000 measurement results to be stored and 1,500 PDF protocols. Optional Micro SD card slot allows additional memory to be added to increase storage capability 320 times to 160 million results.
Weighing just a pound, the unit’s display adjusts to allow users to measure horizontally, vertically, or upside down. Or, the unit can be mounted on a measuring stand to provide a stationary measuring instrument for small workshops.
The range of measuring applications is expanded by the ability to remove and operate the drive unit separately from the display, giving the user more flexibility. The drive incorporates built-in “Vees” to support small-diameter parts during the measurement cycle.
MarSurf M 310 software features 31 parameters to choose from, offering performance range on par with a laboratory instrument. Tolerance limits can be set for all selected parameters, and exceedances are signaled in the display and in the protocol. Measurements are made according to the standards and rules for stylus instruments (DIN ISO, ASME, JIS, MOTIF), and can be quickly and easily saved in the device.
Free MarWin Roughness Viewer software for Windows is also available, which allows measurements to be brought over to a PC for archival or use in quality documentation reports.


