Measure Shafts and Cylindrical Parts with No Thermal Variation
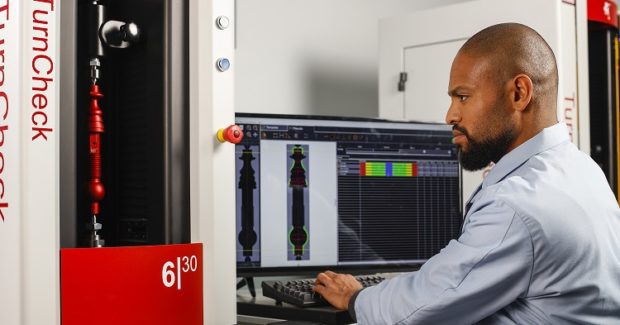
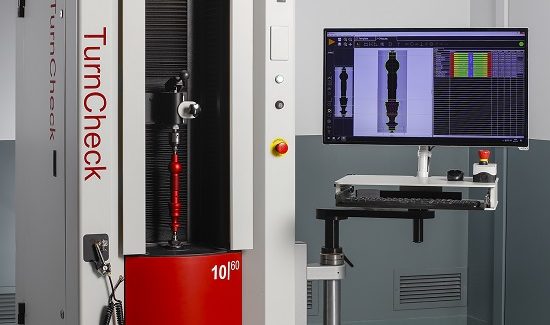
Rugged TurnCheck systems from QVI use advanced optics to mitigate the effects of thermal variation and deliver fast, accurate measurements in shop floor conditions where vibration and temperature variation are common.
Posted: March 24, 2019
For precision optical measurement of shafts and other cylindrical parts, the TurnCheck™ system from QVI® (Quality Vision International; Rochester, NY) addresses major sources of measurement uncertainty found in shaft measurement by focusing on advanced optics, thermal stability and ease of use. The illumination system found in TurnCheck produces highly collimated light with a constant wavelength, eliminating the wrap-around effect on turned parts. The receiving optics are fully telecentric, with each element designed to eliminate distortion. The result is a crisp, uniformly magnified image across the entire field of view, with no edge effects or exclusion zones. These systems are designed to deliver accurate measurements in shop floor conditions where vibration and temperature variation are common. Careful consideration was taken in selecting materials to allow the design of TurnCheck systems to mitigate the effects of thermal variation found in shop floor environments.
The system software is intuitive and intelligent. There is no need to adjust lighting, focus, or image tools – the system optimizes these features automatically. Simple controls, easy loading and unloading, and intelligent tools let the operator focus on what they want to measure, rather than how they should be measuring it, allowing for fast setup time without the need for extensive operator training. Designed and manufactured in the United States, TurnCheck systems are offered in three different model ranges to accommodate a range of parts up to 1,200 mm long.
Quality Vision International Inc., 850 Hudson Avenue, Rochester, NY 14621, 585-544-0450 ext 268, [email protected], www.qvii.com.


