Flexible, Highly Efficient CNC Vision Measuring of Small to Large Features
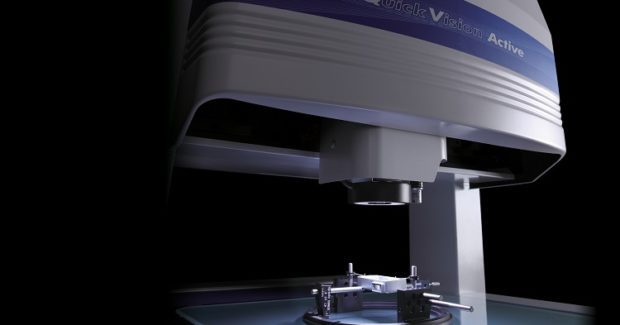
Highly efficient and flexible, the Quick Vision Active CNC vision measuring system from Mitutoyo America uses advanced functionality to meet many contact and noncontact measuring needs in a wide field of view with interchangeable objective zoom lenses to meet the challenges of measuring small to large features.
Posted: August 12, 2017
In Booth 1308, Mitutoyo America Corporation (Aurora, IL) announces the addition of the Quick Vision Active series to their lineup of vision measurement systems. This CNC vision measuring system is an easy to operate, space-saving model with advanced functionality to meet many contact and noncontact measuring needs. The Quick Vision Active is highly efficient and flexible, offering a wide field of view with interchangeable objective zoom lenses to meet the challenges of measuring small to large features. The 8-step zoom lens can achieve a magnification range of 0.5X to 7X while maintaining crisp image quality. The 1X optional objective achieves a magnification range of 0.5X to 3.5X with a working distance of 74 mm. The 2X option can achieve a magnification range of 1X to 7X.
Quick Vision Active is available with measuring ranges of 10 in x 8 in x 6 in (250 mm x 200 mm x 150 mm) or 16 in x 16 in x 8 in (400 mm x 400 mm x 200 mm), with or without the touch probe measuring option. Its QVPAK software uses edge detection and pattern recognition to locate and orientate the coordinate system with minimal operator input, ensuring accuracy and repeatability of the measurement results. Other features include:
- Programmable LED stage, coaxial light and 4-quandrant LED ring light.
- High speed autofocus.
- High resolution and high speed color USB camera.
- High quality zoom optics with Mitutoyo-manufactured interchangeable lenses.
- Powerful QVPAK 3D vision software.
- Touch probe is retrofittable.
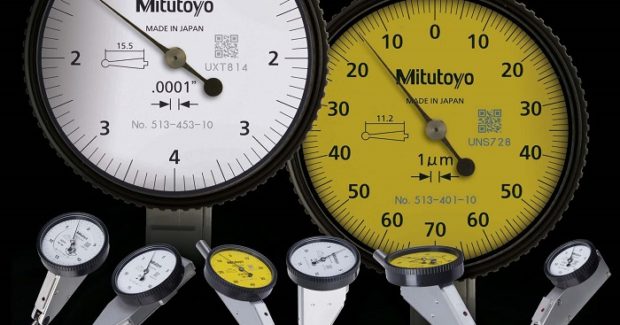
Also on display will be lever-type dial test indicators with increased durability, sensitivity and readability. A wide array of styli and ruby tips allows for probing of many applications. Stylus length is marked on the dial face to assist users when ordering replacement styli. To improve readability, a glare-free flat crystal face has been incorporated to allow for easy viewing of graduations. In addition, the font and dial face color were changed. Multiple layers of hard, smudge-resistant coatings on the crystal prevent scratches and contamination. An O-ring seal on the bezel provides smooth rotation and prevents oil and dust from contaminating the dial face. A flange was added to prevent the bezel from becoming detached during use.
Optional limit hands can be attached to the bezel, allowing for easy identification of tolerance limits. Improved impact-resistance and a one-piece internal assembly protect the indicator. The one-piece assembly also makes replacement of internal components simple, should service be required. A unique sub-plate structure has been incorporated into all models to prevent the stylus from becoming loose. Redesigned mounting of the gears allows the indicators to maintain good tracking ability, even with prolonged use. Users can choose from a variety of dial positions: horizontal, horizontal with a 20 deg tilted face, vertical and parallel.
Mitutoyo America Corporation, 965 Corporate Boulevard, Aurora, IL 60502, 888-648-8869, Fax: 630-978-5394, www.mitutoyo.com.


