Six Common Mistakes in Automated Brush Deburring
Here are some ways to avoid six pitfalls that shops must keep in mind when considering a switch from manual deburring to automated brush deburring.
Posted: April 17, 2017
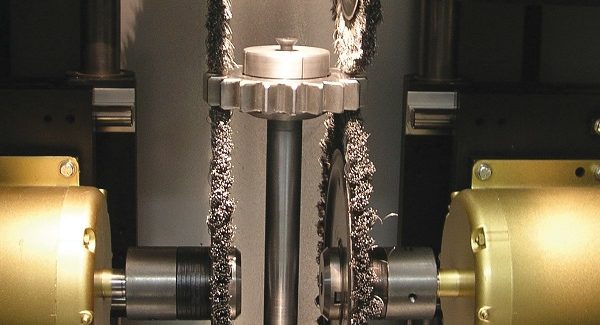
Implementing an automated brush deburring process can reduce direct labor costs, improve process consistency, and eliminate common health and safety issues. These factors may be appealing to shops that are considering a switch from manual deburring, but it’s easy to make mistakes without the right information to implement the process. Keep the following in mind to avoid any pitfalls:
MISTAKE NO. 1: INCONSISTENCY IN INCOMING PARTS
When there is variation in incoming parts, it can result in outgoing part variation and, therefore, higher process costs during deburring. Make the upstream process as stable as possible to help minimize this problem, and design the system based upon the worst-case scenario for the upstream process. Companies can design a system that is capable of handling broad incoming part variability, but it is typically quite expensive. When variation of upstream parts cannot be reduced, the increased costs for a highly robust deburring process must be incorporated into equipment design and part cost estimates.
MISTAKE NO. 2: BURR ACCESS THAT’S ‘CLOSE ENOUGH’
Burr access is a common problem with system design, and getting the brush close enough to hidden or masked burrs is not good enough. Brush filaments must have unimpeded perpendicular access to the burred edge for effective removal. Position the edges in a way that minimizes masking of burrs by part features and workholding, and make sure the orientation allows brush filaments to strike the targeted edge at a perpendicular angle. When using wire brushes, orient the part to allow filaments maximum access to the root of the burr, which provides greater striking force where the burr is joined to the part. Often, this type of mistake can only be corrected in the design stage, and it cannot be fixed on the shop floor.
MISTAKE NO. 3: ASSUMING A SMALL PART REQUIRES A SMALL TOOL
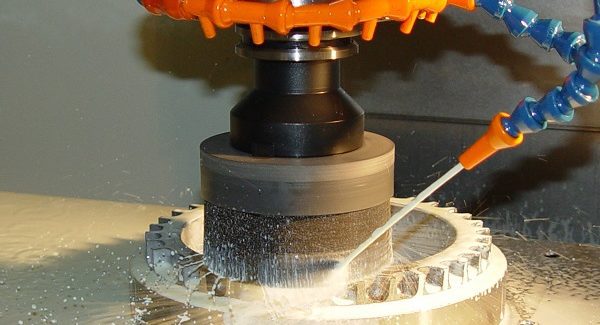
Part geometry is important to consider in deburring system design. However, most small parts do not require a small deburring brush. Because it is more difficult to manage wear compensation for small brushes compared to larger ones, using a small brush often leads to inconsistency. Using a larger brush results in a more robust system and allows more reliable wear compensation, lowering the overall cost per part. While a larger brush may have a higher initial per-brush cost up front and seem oversized for the part, this choice will almost always reduce consumable cost per part, increase system stability and reduce machine maintenance. It’s recommended to use the largest, densest brush allowed by the part geometry.
MISTAKE NO. 4: INSUFFICIENT HORSEPOWER OR MOTOR POWER
While under sizing a brush drive motor may reduce initial investment costs, it often leads to operational problems. Without sufficient motor power, factors such as brush selection, parameter selection and equipment layout won’t matter. The motor will bog under the load and the process will yield poor results. It’s important to choose a motor with enough horsepower to maintain operating rpm when the brush engages the part. The amount of engaged brush face and the depth of interference between the brush and the part are key factors in determining the appropriate motor size.
MISTAKE NO. 5: GETTING CAUGHT IN THE SPEED TRAP
Wire and Nylox brushes are designed to operate within certain surface speed ranges and, in many cases, these surface speeds don’t correspond to spindle speeds of off-the-shelf motors. This means direct-drive systems operating at standard motor speeds may be doomed from the design stage. For example, a 10 in wire brush running at 1,750 rpm will only be marginally effective. At that speed, the wire tips will have limited energy and will be prone to rolling the burr instead of removing it. Check the manufacturer’s recommended operating speed before selecting a motor. Recommended speeds are typically different than the maximum safe speed printed on the brush and can vary based on workpiece material, part geometry and other factors.
MISTAKE NO. 6: DISREGARDING PUBLISHED RECOMMENDATIONS
The importance of following a manufacturer’s recommended operating parameters is illustrated by the last two points. A brush may be rated to run at 3,000 rpm, but that may not be the optimal brush speed for your specific application. An application’s optimal operating parameters are impacted by numerous factors, including those mentioned above, as well as process cycle time, coolant availability and a part’s surface finish requirements. Usage parameter recommendations are available from most manufacturers, often online or in published literature, and some manufacturers offer lab testing so that shops can test parameters on real parts before making an investment.


