Video Measuring Microscopes
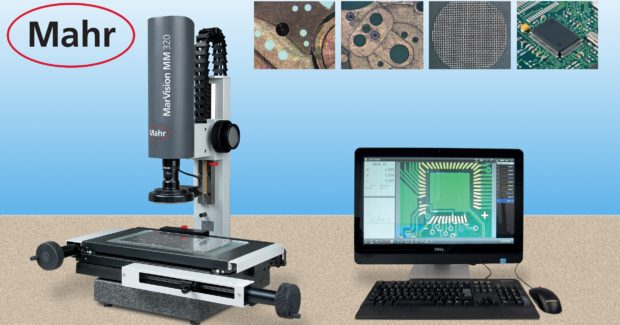
The MarVision MM 320 from Mahr Federal accurately inspects small medical parts down to miniaturized electronic components with extreme measuring precision.
Posted: August 30, 2016
Mahr Federal Inc. (Providence, RI) offers their MarVision MM 320 video measuring microscope with image processing capability for the measurement and/or dimensioning of geometric elements. The MM 320 incorporates integrated CCD color cameras with zoom lenses, 23 in touchscreen PCs with keyboard and mouse, and easy-to-use Windows based M3 software. MarVision optical measuring instruments offer a quick and reliable solution to many different 2D measurement and inspection tasks. Ideal for accurate inspection of small medical parts down to miniaturized electronic components, the extremely precise MM 320 measuring instrument is designed to meet the highest quality and production requirements.
The MM 320 video measuring microscope is well suited for measuring and/or dimensioning geometric elements of bone screws, hip joint implants, knee endoprostheses, and other medical parts. Other features include:
- LED ring light: 1 ring and 4 segments, individually switchable and dimmable
- LED transmitted light: dimmable
- Solid granite base
- Sturdy steel XY table, precision-mounted
- Quick and fine adjustment of axes
- Optical incremental measuring system for outstanding accuracy and reliability
- Laser pointer for position finding
- The operating system is Windows 8 Pro, so further software can be installed
- Reference/actual evaluation with tolerances
- Record output with company logo
- Graphical display with dimensioning
- Automatic edge detection, even on low-contrast parts
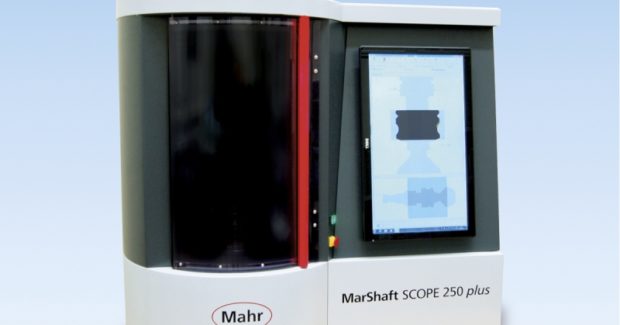
Mahr Federal also offers the competitively priced MarShaft™ SCOPE 250 plus flexible optical system for shop floor measurement. This system is designed to provide fast, accurate, fully automatic measurement of smaller shafts and turned parts directly on the shop floor. It features a highly accurate matrix camera with four million pixels, and uses a high precision roundness measuring axis (C) and a vertical measuring axis (Z) to measure parts up to 250 mm long and 40 mm diameter with an accuracy that is previously unknown in this market segment. Its MPE (Maximum Permissible Error) of less than 1.5 microns + L/40 when measuring diameter and an even more impressive 3 microns + L/125 when measuring length is significantly more accurate than other systems using line cameras.
Very compact and attractively designed, the MarShaft SCOPE 250 plus provides out-of-the-box functionality. Extremely easy to use and very fast, it can measure 28 features on a sample shaft in under ten seconds, and has measured a part with seven required features in under three seconds. At its heart is the state-of-the-art, high-resolution CMOS matrix camera (40 mm live image) with an image field of 1088 x 2048 mm that allows fast scanning and high accuracy for diameter and length measurement. With extremely fast measuring times thanks to high measuring speeds of up to 200 mm/s, the extremely high image acquisition rate of over 120 images per second keeps measuring times to a minimum. Zoom functions allow the smallest details to be measured, which with conventional measuring methods are difficult if not impossible to test.
Mahr Federal Inc., 1144 Eddy Street, Providence, RI 02905, 401-784-3100, www.mahr.com.


