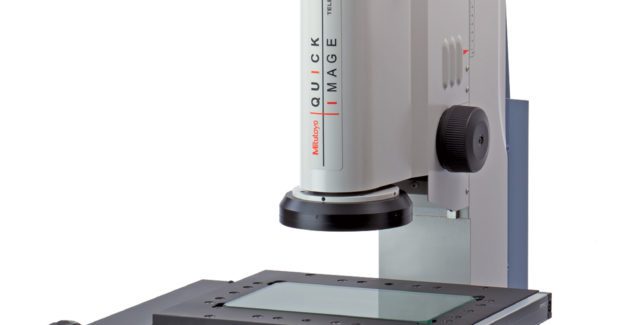
Versatile One-Click 2D Measuring Systems
With one click, the Quick Image series 2D vision measuring system from Mitutoyo automatically detects workpiece position and inclination, and batch measures up to 1,000 parts with the same shape in one setting.
Posted: June 18, 2016
In Booth E-5215, Mitutoyo America Corporation (Aurora, IL) will display the latest version of their versatile Quick Image series 2D vision measuring system. Two new systems with advanced one-click measuring functionality – available with 0.2X or 0.5X magnification – have been added to the lineup. The Quick Image Telecentric lens design offers a wide field of view and depth of focus, enabling easy measurements on workpieces with multiple step heights. A new one-click measurement function enables measurement and tolerance judgment with a single mouse click. This function enables automatic detection of a workpiece position and inclination, and batch measurement of multiple parts with the same shape, up to a maximum of 1,000 workpieces at one setting. Measurement results are displayed in real time directly on the video image, which enables tolerance limits to be seen at a glance.
With improved measurement accuracy, Quick Image ensures class-leading quality and capability. High-luminance with built-in LED lighting and a 3-megapixel color camera enable observation and measurement using high-resolution images. Additional key features include:
- Easy mode for operation for entry-level users
- Switch between large-focal-depth mode (normal) and high-resolution mode
- Wide field, rapid batch and high-accuracy measurement
- User defined overlay templates
- Large line up of X, Y stage sizes
Mitutoyo America Corporation, 965 Corporate Boulevard, Aurora, IL 60502, 888-648-8869, Fax: 630-978-5394, www.mitutoyo.com.


