Three Tricks to Keep Punching Performance at Its Best
There is still a place for punching in fabrication, and here are some practices and applications to get the best performance out of your punching equipment.
Posted: October 3, 2015
For years punch presses were at the forefront of sheet metal fabrication for versatile part manufacturing. Since the introduction of the laser, however, the punch press has slowly been losing work to the newer technology. Still, many shops continue to see the value of the punch for the consistency of part, cost of equipment and operation, and the ability to eliminate secondary operations.
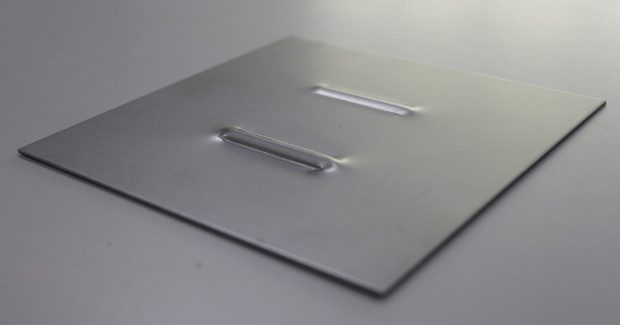
One major concern fabricators have when cutting parts on a laser is the resulting burr left on the bottom side of the part. With a punching press, there are tools that can remove this burr while also eliminating a secondary operation. The same can be said about forming, embossing, thread forming, and even part numbering – all secondary processes that are eliminated with the proper punch tooling. For those fabricators who understand that there is still a place for punching in fabrication, here are some practices and applications to get the best performance out of your punching equipment.
OPTIMIZING YOUR PUNCHING SPEED
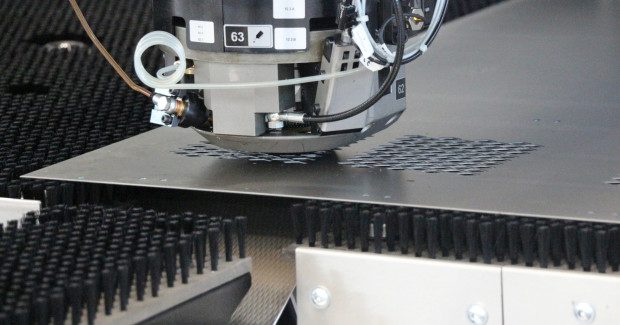
While punching speeds are increasing across the industry, the length of the punching stroke can make or break speed performance. To get optimal performance in terms of punching speed, the stroke length needs to be as small as possible. The machine should stroke from the minimal height above the sheet so it is as close to the sheet as possible while still avoiding collision with any forms or possible bow in the material. Conversely, the lowest point in the stroke needs to be as shallow as possible while still removing the slug from the material or die.
While most machines have the ideal parameters set for standard punching practices, different situations call for different parameters. When forming is introduced, both parameters need to be adjusted to achieve optimal performance. Controlling these values will also control the consistency of the part and the quality of the part to specifications. On machines that offer the ability to dynamically change the stroke parameters and re-enter the nest at certain tools changes or strokes, there is less wasted material, time, and potential parts.
MAKING USE OF THE PRESSER FOOT
In some punching applications it is necessary for the steel stripper plate to come down and press on the top of the sheet before the stroke. It then lifts back up and moves to the next location after the stroke. This is often referred to as presser foot and it is required for applications such as punching thick gage material, tight hole patterns, parts that have a tendency to bow, and holes with a smaller diameter than the thickness of the material. This function helps produce higher quality parts and extends the life of tools by preventing them from breaking, but it also tends to slow down the machine due to the extra step in the stroke.
When punching thinner gage material it is not always necessary to use the presser foot function. For instance, with a rectangular cut off tool or other nibbling process, the stripper will prevent the material from grabbing onto the tool if it is hovering above the sheet as long as the tool strokes all the way back through the stripper on the upward return. Turning off the presser foot whenever possible is a great way to speed up processing time while still maintaining high quality, consistent parts.
MAINTAINING YOUR TOOLS
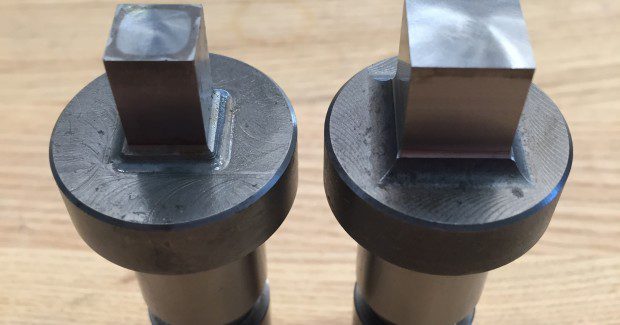
Another way to keep your punching equipment running at peak performance and producing high quality parts is to properly maintain the punching tools by sharpening the punches and dies. When the tool and die are dull, the machine requires additional tonnage to punch the hole, which puts unnecessary wear on the ram. In addition, the roll on the upper surface of the material located on the edge of the punched hole becomes drastically more pronounced when the tool needs to be sharpened.
A good indication that the tool needs to be sharpened is the size of the burr on the bottom side of the part. For certain holes or edges, a larger burr indicates a dull tool. The tool edge will also show wear and rounding on the edge when it needs to be sharpened. Simply remove 0.003 in from the tool – that is all that is needed for regular tool maintenance. In extreme cases where the tool is very worn, continue to remove an additional 0.002 in until the cutting edge is satisfactory. If the tool becomes damaged and the cutting edge has a chip in it, the tool should be sharpened to below where the chip starts. This simple maintenance tip can help keep your punching machine running at peak performance and producing quality parts.
There are many ways to evaluate how certain applications affect productivity in manufacturing. Adjusting and maintaining proper stroke length will maximize the ram speed on your punching equipment. Knowing when it is not necessary to use the presser foot will decrease processing times while using the presser foot effectively can maximize part quality and even prevent tools from breaking. Finally, sharpening and properly maintaining tools increases the part quality and prolongs the life of your machine. By using these practices to your advantage, you will maximize the productivity of your punching equipment and take full advantage of your investment.

