Tube & Pipe Fabrication Equipment
Here is some of the latest equipment now available to help shops cut their operating costs and monitor their tube and pipe fabrication process better than ever.
Posted: September 3, 2015
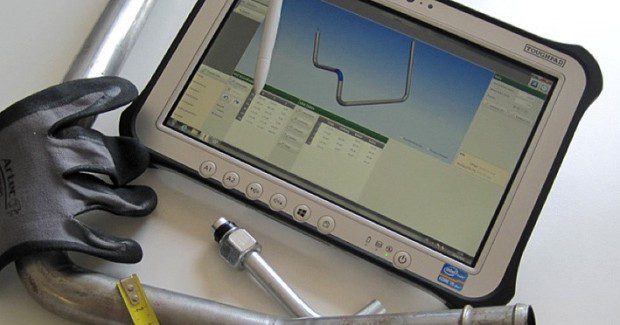
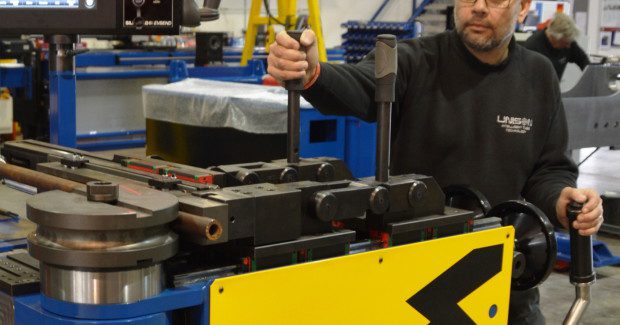
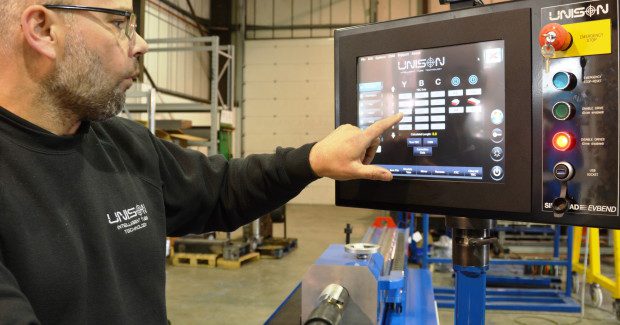
Once the required bend data is entered the user can start bending parts under the interactive guidance of the machine. The touch-screen Windows HMI displays the actions required in sequence with real-time feedback of positional data as tubing is fed, rotated or bent. The precision and repeatability of these feed, rotation and bending operations is assured by a smart electromagnetic braking system. Encoder feedback on each axis ensures that all movements are made with extreme precision. These machines may also be fitted with a pneumatic mandrel. The Windows HMI makes it easy to integrate EvBend into factory networks and access a powerful range of Unison CAD tools and interfaces for the automated creation of tube bending programs.
Innovative Tube Equipment Corporation, 1807 West Sunnyside Avenue, Chicago, IL 60640, 866-574-8823, [email protected], www.tube-equipment.com.
Unison Ltd., Faroe House, Thornburgh Road, Scarborough, YO11 3UY, United Kingdom, +44 (0)1723 582868, [email protected], www.unisonltd.com.
HIGHER DETAIL MEASUREMENT OF COMPLEX BENDS
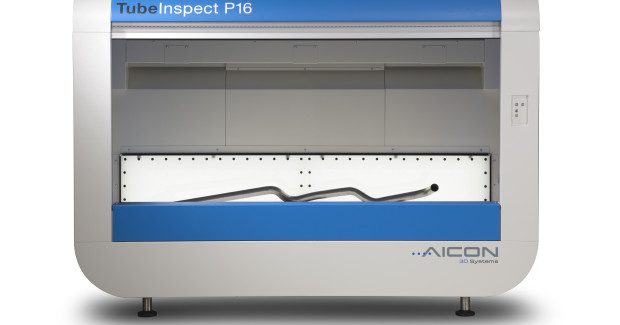
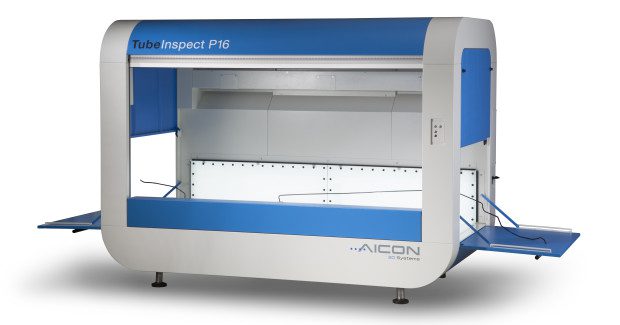
AICON 3D Systems GmbH (Braunschweig, Germany) introduces the TubeInspect P16, the follow-up of the successful TubeInspect series that sets new standards in the measurement of midsize and long tubes and wires. Equipped with 16 high-resolution cameras using GigE technology and a large measurement area (2,600 mm x 1,250 mm x 700 mm), TubeInspect P16 is suitable for tubes and wires up to 2,500 mm long. Measuring results are provided in less than 10 seconds. Tubes up to 7 m long can be measured by repositioning in several steps. The measurement sections are linked automatically. In the open position, the lateral doors serve as support desk.
TubeInspect P16 considerably optimizes the setup of bending machines and significantly reduces costs through shortened setup times. When measuring large objects such as long thin metal or plastic pipes, it uses BendingStudio software to compensate for deflections that occur due to the weight of the pipe itself and create various new application-oriented functionalities. TubeInspect P16 fulfills the highest requirements regarding accuracy and speed. Its long-life and low-maintenance LED technology guarantees a particularly smooth illumination of the measuring field for more reliable measurement of tubes and wires of all materials. Complex bends are captured in higher detail to improve repeatable accuracy.
The panel of the reference measuring field is supplemented with additional glass elements as beams for the low-maintenance reference points that do not have their own power supply and are more precisely measurable. The measurement accuracy for determining sheath tolerance can be increased up to 0.085 mm. TubeInspect P16 replaces expensive mechanical gauges and is insensitive to vibration, making it applicable for a production environment. The narrow front edge allows for an ergonomically optimized insertion of measuring objects into the measuring cell.
AICON 3D Systems GmbH, Biberweg 30 C, D-38114 Braunschweig, Germany, +49 (0)531 58 000 75, Fax: +49 (0)531 58 000 60, [email protected], www.aicon3d.com.
ULTRASONIC TUBE DRAWING PRODUCES SUPERIOR ID FINISH
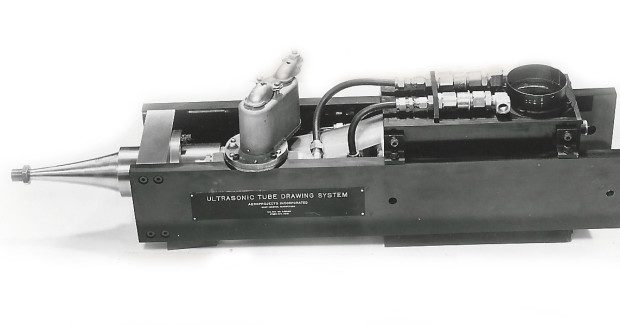
The Tube Drawing System and its components are specially designed by Sonobond Ultrasonics (West Chester, PA) to accommodate manufacturers of fine metal tubing used in syringe needles, as well as for medical devices and tubing products used in many other industries to transport critical fluids. “In conventional tube drawing systems, lubricants are used to reduce friction between tooling and metal tubing,” explains company president Janet Devine. “With our ultrasonic system, high-frequency vibrations create a continuous cycle of increasing and decreasing pressure between tooling and work piece, resulting in less friction and a reduction of force needed for the draw and consequently significant improvement in the internal surface finish of the tube, which is absolutely essential for critical fluid transmission. Optimum results are achieved when the ultrasonic activation is used in conjunction with ‘best practices’ such as lubricants.”
In a standard rod draw operation a controller first positions the tube to be drawn over a long, back support rod, terminated in a plug, so that the tube to be drawn can be loaded onto the machine. Draw carriage jaws then grasp the tube and pull it through a die that is on the outside of the tube and aligned with the plug which is inside the tube, thinning the tube walls and achieving the desired wall thickness and internal diameter. Multiple draws are often required with progressively smaller dies and plugs to reach the desired tube size.
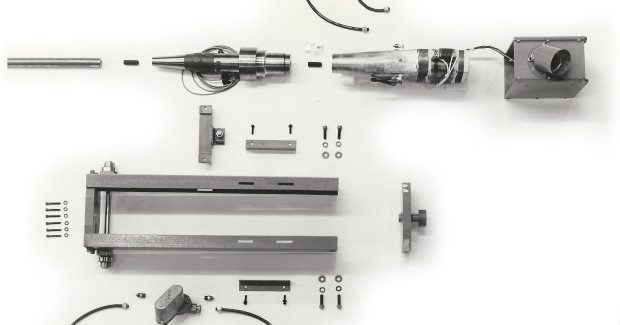
In an ultrasonic system a power supply converts line power to high voltage, high frequency electrical power needed to drive the transducer that is attached to a coupler at the back end of the back support rod and mounted on a carriage on the draw bench. The transducer converts electrical energy to vibratory energy. Waveguides or components – typically a tapered coupler and the back support rod, which holds the die and/or plug – carry the vibratory energy from the transducer to the plug. The waveguides are designed to resonate at the frequency of operation of the power supply and transducer, usually in the range from 15 kHz to 28 kHz, depending on the size of the rod and the tube being drawn. “The ultrasonic energy reduces frictional forces between the forming tools, and also increases the plasticity of the metal being drawn,” notes Devine.
“Adding ultrasonic energy to a tube-drawing operation can reduce the draw force required, in some cases by up to 35 percent, and permit heavier reductions thereby reducing the number of draws required to achieve a finished product,” states Devine. Additionally, ultrasonic tube drawing eliminates sticking and slipping (also known as “chatter”) that can lead to product loss. There is less breakage, especially at start-up when frictional forces are highest. Draw speed can be increased as much as 400 percent. Most significantly, especially for medical applications, surface finishes on the ID of the tube can be improved to RMS (Root Mean Square) values of 8 or better micro-inches.
The Tube Drawing System achieves superior tubing suitable for syringe needles and other sharps. Ultrasonically drawn fine tubing can also be used to produce implantable device components, in vitro diagnostic probes, bands for catheters and guidewires, heat-exchanger tubes for controlling blood temperature during surgery, micro-surgical tools, stents and other devices requiring tubing with a fine internal dimension finish. Sonobond Ultrasonics can evaluate a shop’s existing tube drawing operation, recommend components, or design a complete system for an existing or new drawbench.
Sonobond Ultrasonics, 1191 McDermott Drive, West Chester, PA 19380, 610-696-4710, [email protected], www.SonobondUltrasonics.com.


