Advanced Inspection Systems
A review of some of the new technologies and latest innovations in metrology now being used for testing and measurement.
Posted: September 7, 2015
AN INSIDE LOOK AT CT SCANNING
The first application of CT scanning for metrology in the United States has been performed on aluminum casting by Exact Metrology, Inc. (Cincinnati, OH), a comprehensive metrology services provider with facilities in Cincinnati and Milwaukee and affiliated offices throughout the Midwest that offer customers 3D scanning, reverse engineering, quality inspection, product development and 2D drawings, as well as turnkey metrology solutions that include equipment sales and lease/rental arrangements. Josh Schradin, one of the 3D scanning specialists at the Cincinnati facility, recently completed a CT scanning project involving aluminum castings measuring approximately 12 in x 6 in x 6 in and weighing 10 lb to 15 lb.
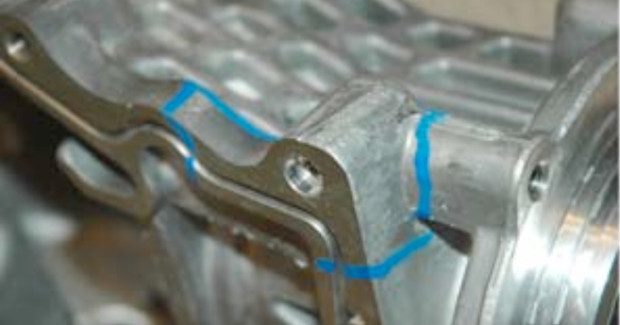
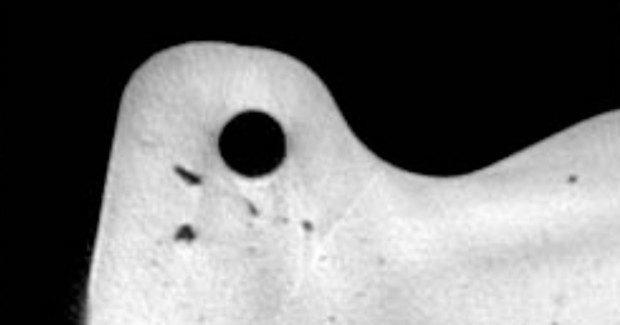
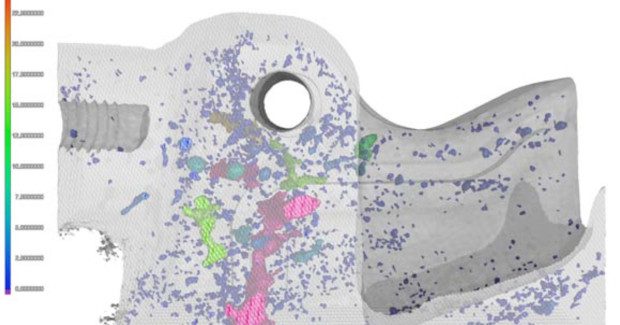
The company’s new Metrology Grade GE v|tome|x 300 CT Scanner with Nanofocus Tube (180 kV/15 W) and Microfocus Tube (300 kV/500W) is equipped to “look inside” aluminum to a wall thickness or total amount of material of six to seven inches, or steel to a wall thickness or total amount of material of one inch. For this particular job, which represents the first use of CT scanning for metrology in America, the client was interested in wall thickness inspection as well as porosity and void analysis. The blue paint visible in some of the images was applied by the customer to indicate stress areas where leaking or breaking was suspected. Schradin performed three stacked scans, each taking only about 30 minutes, to capture the entire casting. The result of the scans revealed the voids (legitimate holes) and highlighted the most serious problem areas in red-to-pink shadings.
In addition to offering the only method to get 3D views inside a part, another primary benefit of CT scanning is the true dimensional data provided in a non-destructive test manner, i.e. without cutting up or otherwise destroying the test object. The casting workpiece was rotated 360 deg in the X-ray beam’s path, with multiple readings from various angles being taken. Once the CT grey scale images were converted into voxel-based 3D point clouds, Schradin was able to generate a CAD-to-Part comparison for the customer.
Exact Metrology, Inc., 11575 Goldcoast Drive, Cincinnati, Ohio 45249, 513-831-6620, [email protected], www.exactmetrology.com.
THE NUTS AND BOLTS OF HIGH PRECISION
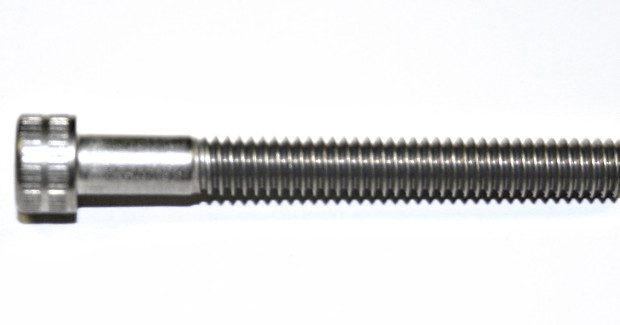
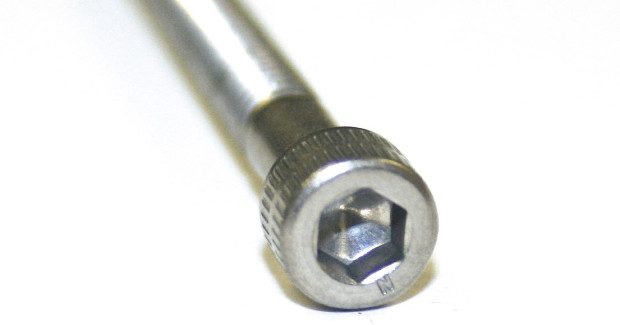
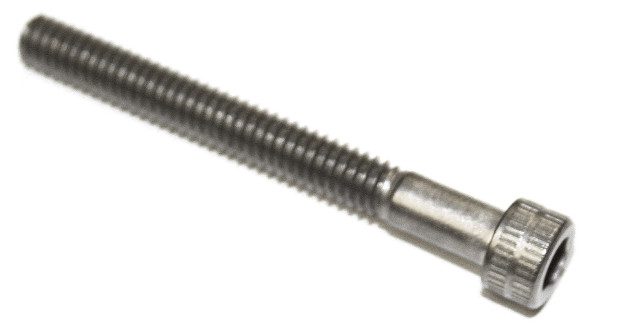
Aerospace manufacturers demand the highest precision, even down to the smallest bolt. Fastener Depot Inc. (Diamond Springs, CA) is a privately held distributor of inserts, fasteners, and electronic hardware that specializes in unusual and hard-to-find items for high-tech OEMs in the aerospace and defense sectors. The distributor fills the needs of this niche market by placing the utmost priority on its inspection and quality processes. Fastener Depot offers a complete line of inserts/studs and structural, captive and panel fasteners that it orders from various manufacturers in the United States that must meet very stringent specifications and tight tolerances.
The distributor also provides parts-to-print items. Once Fastener Depot obtains parts from the fastener manufacturer, their quality team reviews the certifications provided by that manufacturer to make sure the correct materials were used. Technicians count and thoroughly inspect the parts to ensure they meet the exact specifications and tolerances, and they check the parts to ensure they are free of dings or foreign objects.
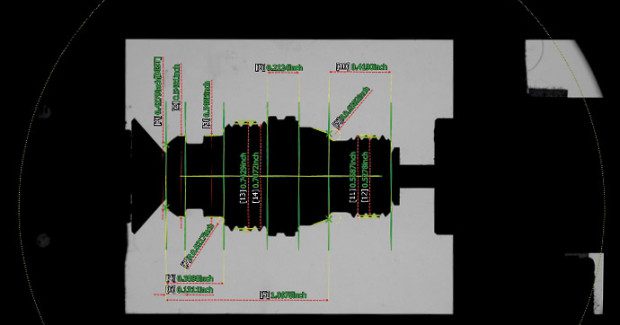
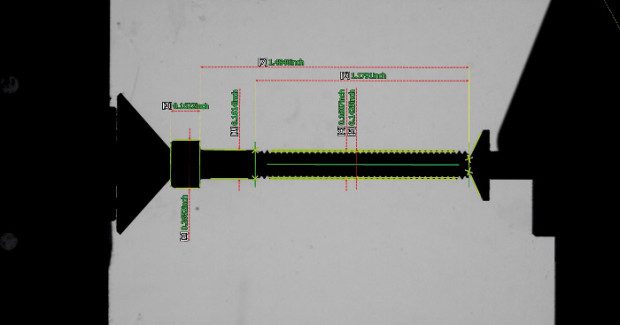
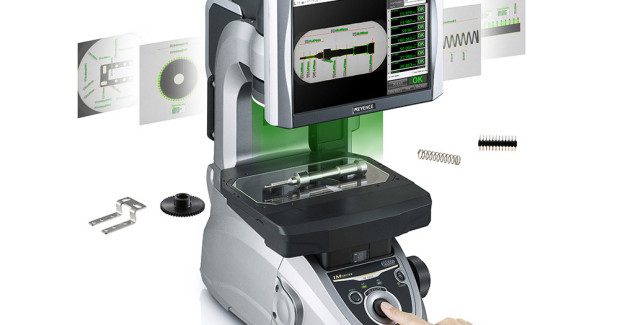
“We don´t just pass parts through,” explains Sandy Navalance, the owner of Fastener Depot. “Our customers depend on us for quality, which is why we are so diligent about inspecting the parts we supply and certifying that they meet specifications.” Inspectors at Fastener Depot use an Image Dimension Measurement (IM) System from Keyence Corporation of America (Itasca, IL) to quickly and accurately check and gauge parts. After entering the part specifications into the system, they place a part on the IM System stage, press a button and automatically measure up to 99 points simultaneously. The system then compares the measurements to the specifications and stores the data for reporting.
The IM System is designed with several industry-first features that offer the inspectors unparalleled speed and accuracy, reduce set-up time and make operation of the system easy. It uses a specially designed lens to provide a super wide field of view with auto-focus capability to ensure the part is always in focus, regardless of height differences. With the IM system, quality team members can also batch measure multiple parts at the same time. Charlie Criddle, the quality manager for Fastener Depot, describes the significant process impact of changing inspection over to the automated IM System. “Before, the inspectors manually measured each individual segment or dimension of the parts using micrometers and Go and No-Go gauges, then compared each measurement to the drawings,” he says. “With the IM, we simply enter the specifications for a part into the machine and it measures all dimensions in one swoop, speeding up the process tremendously. Now, we can look at ten pieces in a matter of seconds, compared to minutes doing it manually. We get more product out the door and meet on-time deliveries, even on tight turnarounds.”
The machine also saves time by storing the specifications for each part in its database, which is especially helpful for inspecting repeat orders from the same customer and is one of the reasons Fastener Depot selected the IM system over others that failed to offer this functionality. “Each of our customers has a different sampling plan,” adds Criddle. “One shop might require ten percent of its products be inspected, while another shop wants every single piece measured. Using this system, we can easily meet all of these requirements.”
The IM System reporting feature further enhances both the productivity and accuracy of the quality team. Using printable reports that identify minimums, maximums and averages, they easily make comparisons, identify problems and communicate with the respective manufacturers to get them corrected. Without such automation, the team previously had to enter each finding manually into an Excel spreadsheet in a data entry process that was labor intensive with increased risk of errors. Criddle sums up the decision to purchase and implement the IM System by reiterating its value to his team and the end users of the parts they supply. “Our customers depend on us to deliver precision parts that meet their specifications,” he notes. “This system allows us to do that more efficiently. It is very user-friendly and has dramatically changed our measurement operations.”
Keyence Corporation of America, 1100 North Arlington Heights Road, Suite 210, Itasca, IL 60143, 888-539-3623, Fax: 201-930-0099, [email protected], www.keyence.com/fastener.
CMM LASER SCANNER COMBINES PRODUCTIVITY AND ACCURACY
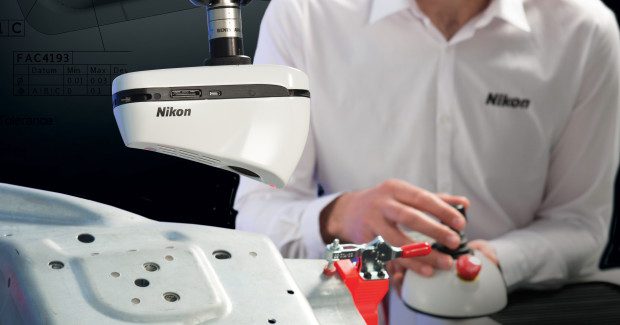
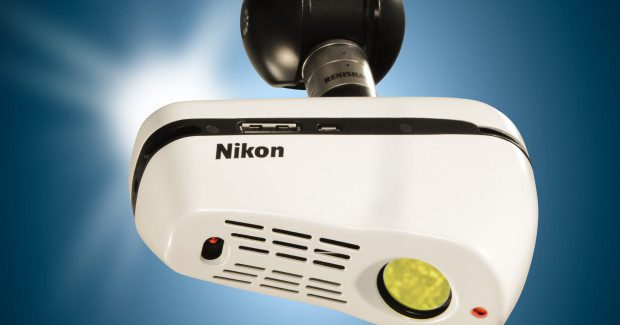
Nikon Metrology, Inc. (Brighton, MI) introduces its latest CMM laser scanner, the Nikon InSight L100. It has been 20 years since Nikon Metrology pioneered laser scanning. Now they have gradually sharpened the capabilities of this non-contact measuring technology with superior optics that are combined with innovative camera technology, resulting in this new, groundbreaking scanner. The InSight L100 CMM laser scanner offers the best possible combination of speed, accuracy and ease-of-use. Suited for both surface and feature measurement, even on shiny or multi-material parts, the Insight L100 quickly delivers accurate data and insightful part-to-CAD comparison reports.
The InSight L100 is ideal to inspect larger components where productivity is key but without having to compromise on accuracy. The 100 mm wide Field-of-View combined with the data acquisition speed of 200,000 points/second results in a measurement productivity that wasn’t achievable with CMM scanning before. To facilitate manual scan path programming, the InSight L100 features a brand new full Field-of-View (FOV) projector. By making sure that the scan line falls within the projected FOV, the user can be sure that he gets good part coverage. The InSight L100 is equipped with a high quality glass Nikon lens optimized for laser scanning. Combined with the high definition camera this results in a point resolution of only 42 μm enabling fine detail capture and measurement of sharper edges. The InSight L100 has an exceptionally small probing error of 6.5 μm, which is a measure of the scanner’s noise level- resulting in smooth meshes with high levels of detail.
The InSight L100 is perfectly suited for combined surface and feature measurement. Thanks to the low noise level and high point resolution, feature measurement accuracy approaches the accuracy of a touch probe. A greater range and mix of surface materials, finishes, colors and transitions can be measured more efficiently without user interaction, manual tuning and part spraying. The unique fourth-generation Enhanced Scanner Performance (ESP4) technology adapts the laser intensity for each point in the scan line to varying colors or materials faster than ever. This makes the scanner even more robust for digitizing multi-material assemblies or shiny surfaces without the need for cumbersome surface treatment. The patent-pending integrated mount rotation allows the scanner to rotate around its autojoint axis in 30 deg increments up to 90 deg. This saves the use of autojoint adaptors and is particularly interesting to measure turbine blades or parts with vertically oriented features and edges. The InSight L100 also allows the use of an extended 105 deg PH10 A-angle allowing better access to measure underneath or behind parts.


