3D Dreams
Take a look at some of the newest three-dimensional scanning technology that can reduce the cost of a typical manufacturing design cycle by up to 75 percent.
Posted: May 7, 2015
Because three-dimensional scanning helps ensure higher quality, better fitting parts that are less costly to manufacture, some companies estimate that the cost of a typical manufacturing design cycle can be reduced by up to 75 percent when 3D scanning is used. This is why a highly accurate and reliable three-dimensional measurement device that can operate in real-world shop floor conditions is the dream of metalworkers everywhere. Here is some of the latest 3D scanning technology to make their dream come true.
INNOVATIVE MACHINE VISION LIGHTING
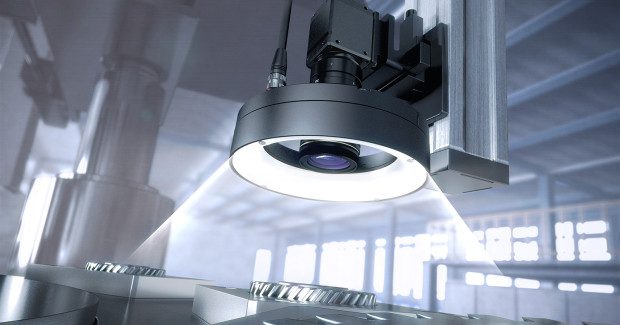
Have you ever seen a scratch or dent on an object when light hits it a certain way, but it disappears when you tilt the object? Or, has the random glare off a flexible package or clear plastic shrink wrap made it difficult for you to read the “fine print?” Human beings are very capable of compensating for these types of problems, but machine vision systems have traditionally been very unreliable under these circumstances. Not anymore.
LumiTrax™ Machine Vision lighting technology from Keyence Corporation of America (Itasca, IL) is a fusion of high-speed cameras, intelligent lighting, and a powerful inspection algorithm. This system makes it easy to perform stable inspection imaging regardless of work piece variations or environmental influences such as ambient light. Multiple images are captured while lighting an object from different directions. Processing multiple images allows separate detection of surface irregularities and workpiece patterns. It is possible to inspect stains and stamps that could not be inspected due to surface irregularities and printing.
The shadowing is analyzed and a shape image is created allow inspections that were previously impossible with standard 2D vision cameras. The algorithm combines these images to create both “shape” and “texture” images. A shape image extracts only height changes while eliminating the influences of surface variation, colors, or printing. A texture image eliminates the effects of glare. LumiTrax automatically combines the images, even when a part is moving under the camera!
Keyence Corporation of America, 1100 North Arlington Heights Road, Suite 210, Itasca, IL 60143, 888-539-3623, [email protected], www.Keyence.com/VSD.
SMART SCANNING WITH ROBOT TECHNOLOGY
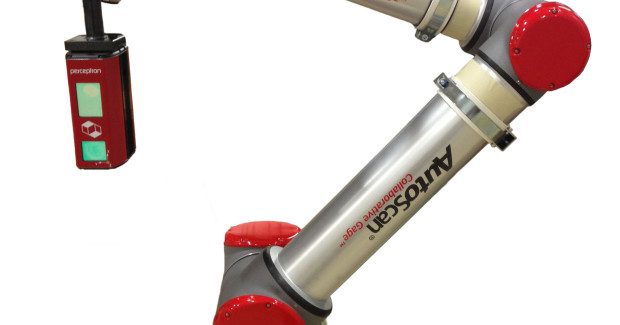
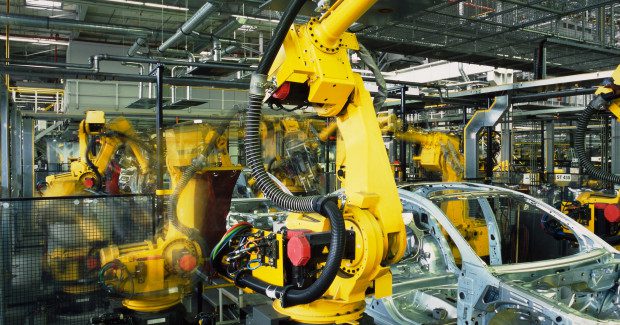
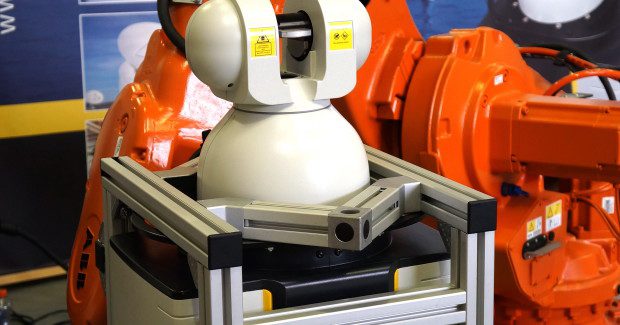
Perceptron, Inc. (Plymouth, MI) is a world leader in delivering fully automated dimensional inspection and gaging solutions to the manufacturing-floor using traditional industrial robots for both in-line and near-line applications. Now, with its Autoscan Collaborate-Gage™ and Autoscan Collaborative-CMM™ metrology solutions, the company harnesses its Helix smart sensor and shop-hardened Vector® analysis software with the very latest Collaborative Robot technology.
The Collaborative Robot is designed to allow direct interaction with a production operator within a shared collaborative workspace where the robot and operator can perform tasks simultaneously during manufacturing operations and negates the requirement for the traditional robot safety fences. The Autoscan self-teach programming capability allows the robot to be programmed fast without the needs for off-line software tools; each robot position being self-taught by manually dragging the robot to the next required component scan position. All robot moves are automatically written to the part inspection program, allowing subsequent parts to be inspected automatically. Autoscan captures a 3D digital representation of the part and reports complex form and surface deviations relative to the part CAD model together with discrete information for critical features such as holes, slots and studs.
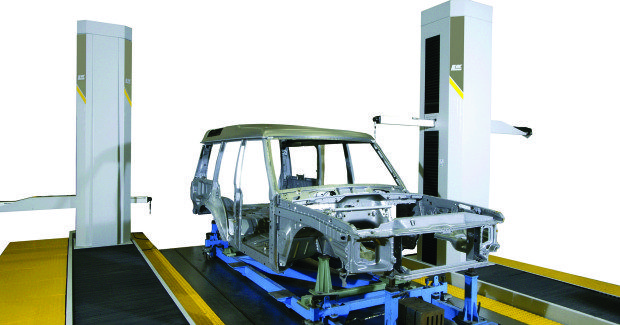
The patented Helix smart scanning sensor is already used extensively throughout the global automotive industry for in-process laser scanning of car bodies for dimensional stability and gap and flush measurement. Helix incorporates MEMS technology and offers the world’s first programmable laser scanner. Helix laser line quantity, density, orientation and scanning volume is complemented by fully user-programmability, eliminating the need to physically move the laser scanner over the part during most inspection tasks. Component part scanning motion is contained within the Helix smart scanning sensor, dramatically improving cycle times and accuracy of scanned data. Up to 200 scan lines per feature can be programmed with automatic feature extraction from the generated point cloud dataset, allowing multiple features to be inspected with the robot in a static mode.
The unique Helix configurable line density allows for scan line intervals programmable down to 0.1 mm. The Helix smart sensor features of programmable scanning volume, laser line number, orientation and density allows bespoke configuration for each specific region of interest on highly detailed, complex parts and permits configurable part scanning optimization. Proven shop-hardened Vector analysis and reporting software is included standard with Autoscan. Vector monitors production quality at most leading automotive plants and can also be configured to provide process anomaly detection.
Autoscan Collaborative Metrology user benefits include:
- Absolute dimensional measuring system
- Comparative gaging option
- Shop-hardened, fast and accurate
- Automatic data acquisition
- ‘Teach and Repeat’ manual part programming
- Programmable scan regions with individual scan line density and orientation
- Wide dynamic scanning range
- Low susceptibility to ambient light and temperature conditions
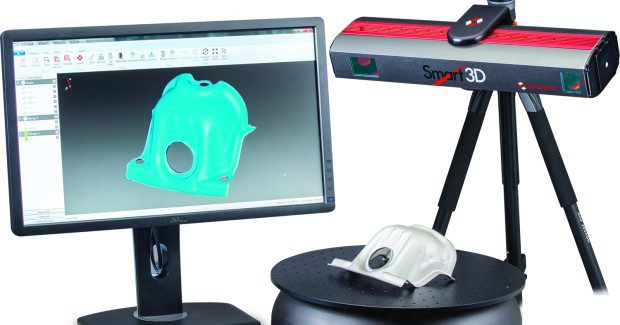
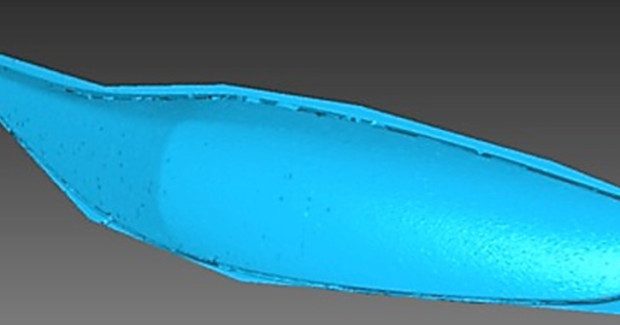
Perceptron also offers SMART3D, a productivity breakthrough for the reverse engineering and modeling sectors. The system offers a fully integrated automatic rotary table and intuitive easy-to-use Scanworks® Studio Software. A simple teach-and-repeat process allows scanning of repetitive parts using the ‘Auto Rescan’ Feature. The accuracy of the acquired dataset is significantly enhanced over equivalent data acquired using manually operated scanning systems. SMART3D automatically provides 3D polygonized models for reverse engineering, 3D printing or graphical web content. The SMART3D system can also be used for the verification of production parts against nominal part geometry data.
SMART3D incorporates the patented Helix smart scanning sensor technology which is used extensively throughout the global automotive industry for in-process laser scanning of car bodies for dimensional stability and gap and flush measurement. Helix incorporates MEMS technology and offers the world’s first programmable laser scanner whereby the laser line quantity, density and scanning volume are fully user programmable, negating the necessity to physically move the laser scanner over the part. All scanning motion is contained within the Helix smart scanning sensor itself, dramatically improving quality of scanned data while maintaining a volumetric accuracy down to 50 microns. The use of a coherent laser light source in the Helix provides a larger dynamic range allowing scanning of multiple colors and finishes. The dynamic range has been further extended by the incorporation of adjustable laser power control and dynamic auto laser intensity.
The SMART3D system is supplied with a fully integrated automatic rotary table that allows for the full 360 deg scanning of parts without the need for targets or best fit alignment. The overall scanning volume is 200 mm x 225 mm x 225 mm, which is compatible with the volume of most 3D printers. From arrival at a scanning location, the portable SMART3D system can be fully operational in less than 15 minutes. The complete system is easily transported in purpose-designed rugged equipment cases providing a truly portable solution. SMART3D can be used with a tripod for maximum portability or can be fixture mounted for the more demanding environment.
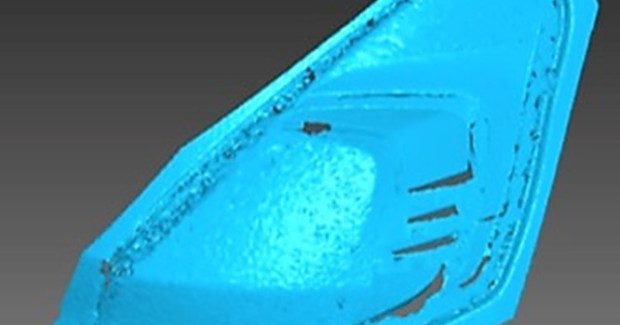
The scanned dataset is streamed real-time into the accompanying Scanworks Studio data collection software with automatic full 3D STL model creation. The software comes with a complete package of tools to refine and enhance the completed scan project; the generated STL model can also be used with all major third party point cloud and 3D printing software.
Perceptron, Inc., 47827 Halyard Drive, Plymouth, MI 48170, 734-414-6100, [email protected], www.perceptron.com.


