Measurement & Inspection Showcase
A review of some of the latest gages, instruments and systems used to measure and inspect parts quicker and more accurately.
Posted: April 9, 2015
WIRELESS PORTABLE AND BENCH GAGES
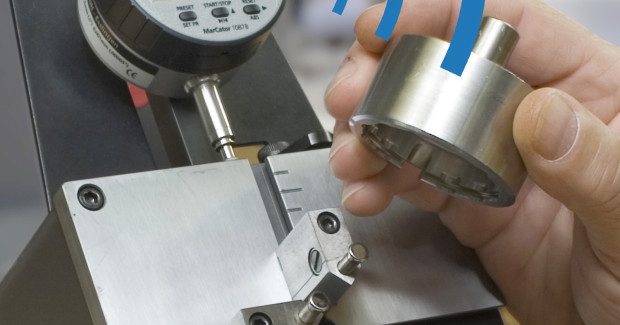
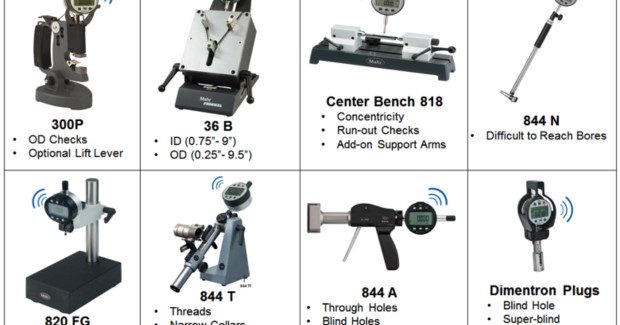
The broad line of mechanical comparative gages from Mahr Federal Inc. (Providence, RI) can now be configured for wireless data transmission with the addition of a MarCator 1086 or 1087 wireless digital indicator. The line includes a wide array of snap gages, ID and OD gages, fixed and adjustable bore gages, as well as depth and comparator stands. The addition of wireless digital indicators makes these gages faster and more productive than ever before. Portable and benchtop mechanical gages are key assets wherever fast and accurate part inspection is required. Mechanical comparative gages have been mainstays in machine shops and high production facilities for more than a century.
https://youtu.be/muSCzDuTywo
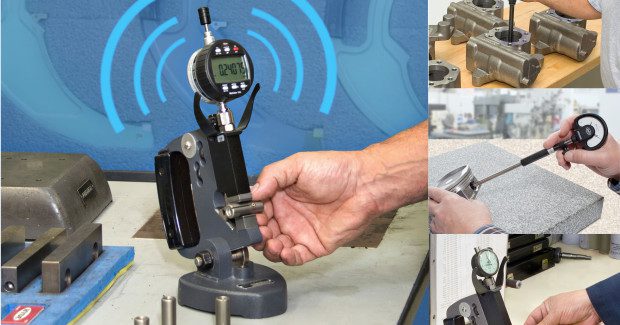
With MarConnect integrated wireless transmitters, MarCator 1086 and 1087 digital indicators can help speed part inspection times, reduce the complexity of data collection, and improve the quality control process. When installed on a bench gage, digital indicators with integrated wireless capability eliminate the need for troublesome cables that clutter up the workbench. When using wireless portable gages on or at the machine, or with large workpieces, there are no cables to obstruct, allowing operators more freedom of movement. Plus, initiation of signal transmission can be made either from the indicators or directly from the PC. This can be very handy if, for example, you have a large gage set up with multiple indicators. Rather than having to send data from each indicator individually, the MarCom software can gather all measurement data with a single click. Successful data transmission is confirmed with a message on the digital indicator’s display.
Through the use of a MarConnect i-stick USB receiver and easy-to-use MarCom data management software, users can create simple and easy-to-use wireless gaging network applications. Each i-stick wireless receiver supports up to eight digital indicators with a range of up to 12 m, perfect for most benchtop or workstation applications. MarCom software sends data to Excel spread sheets, text files or any MS application. A virtual interface allows for integration of the data into third party SPC or machine tool compensation programs. The MarConnect integrated wireless interface is active as soon as the i-stick is plugged in, and each indicator is identified by signal coding in the MarCom software. Data transmitters are built into the MarCator 1086 and 1087 digital indicators, so no interface boxes or additional batteries are required. Plus, integrating the transmitters into the indicators’ electronics makes the units extremely energy efficient, and can extend battery life up to 50 percent longer than competitive systems.
The combination of these robust, easy-to-use, high performance comparative gages with an economical, user-transparent wireless data collection system provides the easiest way to upgrade and implement data collection for existing gages or new gaging requirements. The delays and errors associated with manually collecting and recording data are eliminated, and the measuring process can run at its maximum speed and with the most secure collection format. MarCator 1086 and 1087 digital indicators offer five different resolutions, ranging from 0.00002 in to 0.0005 in (0.0005 mm to 0.01 mm). MarCator digital indicators with the selectable option include the 1086 R with large display, the 1086 WR large display/Wetproof IP 54, and the 1087 R and BR with analog/digital display and dynamics. These indicators are also available in the Ri integrated wireless version. Additionally, the MarCator 1086 and 1087 digital indicator line is available with 8 mm (3/8 in) mounting stems and a full range of backs for easy mounting into existing gages.
Using the selectable resolution option with Ri indicators provides an easy cost-effective way of creating a wireless data collection package. With an i-stick USB receiver and MarCom software, users can record data from work pieces that have varying tolerances. Integrated wireless digital indicators are the most economical way to update an existing bench or hand gage for data collection. It involves no change in the operator’s way of measuring parts, but allows those measurements to be documented and used for process and quality decisions. To switch the indicator’s resolution, simply enter the main menu of the indicator and scroll over to the “resolution display,” which is typically defaulted to 0.0001 in (0.002 mm). From here, users can use the up arrow option to choose the appropriate resolution to accommodate varying gaging applications.
Since TESA management discontinued production of its Brown and Sharpe Standard bore and snap gages, Mahr Federal bore and snap gages are available to replace these TESA products. They allow users to upgrade performance with integrated wireless data transmission. Replacement gages include Mahr Federal 1280 P and 844 N adjustable bore gages, along with 300 P snap gages. These 1280 P adjustable bore gages feature rugged construction for long life and low maintenance, including a stainless steel gaging head and one piece centralizing yoke with replaceable tungsten carbide balls. Furnished with either a dial or digital indicator and available with integrated wireless data transmitters, 1280 P bore gages are sized to measure diameters from 12 mm to 200 mm (0.50 in to 8 in) with extensions, and depths from 76 mm to 1,220 mm (3 in to 48 in).
Also available with integrated wireless transmission, Mahr Federal’s precision self-centering 844 N adjustable bore gages are virtually impervious to temperature changes as both the shank and transfer rod are made from Invar steel. Extremely versatile and quick to adjust to any size within their range, 844 N bore gages can be used to measure diameter, roundness, and conical form, as well as the distances of plane-parallel surfaces of tight tolerance parts. Able to measure diameters from 18 – 800 mm (0.7 – 32″), they provide low hysteresis and high repeatability.
Mahr Federal 300 P snap gages provide fast precise OD measurement on the shop floor. Available over a wide range of sizes, styles and readout configurations, they provide measuring capacity from 0 – 508 mm (0 – 20″) and are available with integrated wireless transmitters and dial or digital indicators. A unique “Channel Lock” design assures precisely parallel anvil surfaces, with positive position locking at any point within the range.
Mahr Federal Inc., 1144 Eddy Street, Providence RI 02905, 401-784-3100, Fax: 401-784-3246, [email protected], www.mahr.com.
DIGITAL CALIPERS & MICROMETERS FOR HARSH WORKSHOP CONDITIONS
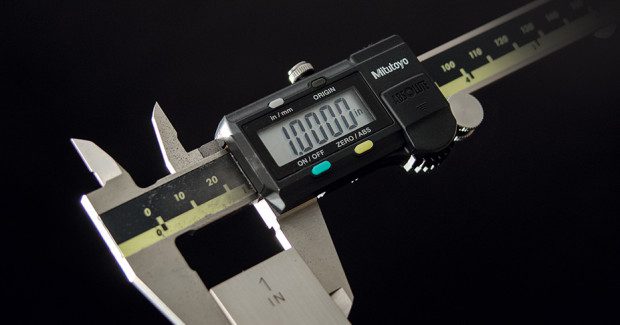
Mitutoyo America Corporation (Aurora, IL) offers the AOS Absolute Digimatic Caliper line with exclusive AOS Sensor Technology with patented Advanced Onsite Sensor (AOS) that provides improved measurement dependability by increasing resistance to harsh workshop conditions. The new electromagnetic inductive sensor repels dirt, oil and water that can cause false readings. The Absolute (ABS) sensor eliminates the necessity of setting the reference when the tool is powered. An ergonomic slider design and increased battery life (3.5 years under normal operations) rounds out the new features of this line.
These new calipers offer enhancements to the most popular 500 series ABS Caliper models and data output models are fully compatible with existing Digimatic peripherals (SPC Cables, U-Wave wireless transmitters, Data Hold Unit, DP1-VR, etc.). Large 9 mm LCD display and low battery alarm are available on all models. Carbide jaws are available on select models for rough machined workpieces, castings, grindstones, etc. All AOS Absolute Digimatic Caliper models carry the same pricing as the current 500 series ABS Caliper models.
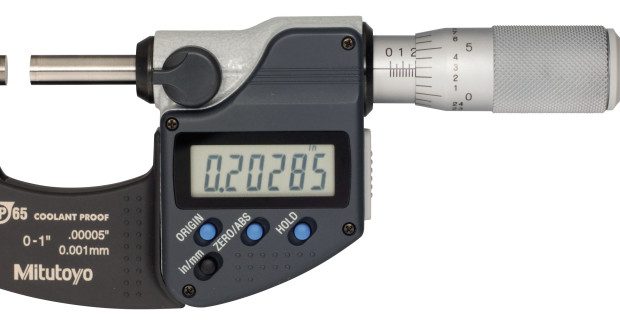
Mitutoyo also offers enhanced versions of its popular IP65 Coolant Proof and MDC-Lite Micrometer line with the electromagnetic ABSOLUTE sensor that provides improved resistance to environmental conditions such as dirt, oil and water that can cause false readings; a function lock system to prevent inadvertent setting changes; new ratchet thimble models that improve one-hand operability and an anti-slip finish for an improved grip while taking measurements. The micrometers will offer long battery life – 2.4 years under normal operation and SPC output models will be fully compatible with existing data management accessories. These new micrometers will replace previous IP65 Coolant Proof and MDC-Lite models and will be introduced at the same prices as the models they will replace.
Mitutoyo America Corporation, 965 Corporate Boulevard, Aurora, IL 60502, 630-820-9666, Fax: 630-820-2614, [email protected], www.mitutoyo.com.
MEASURE WIDTH AND EDGE POSITION IN DIFFICULT APPLICATIONS
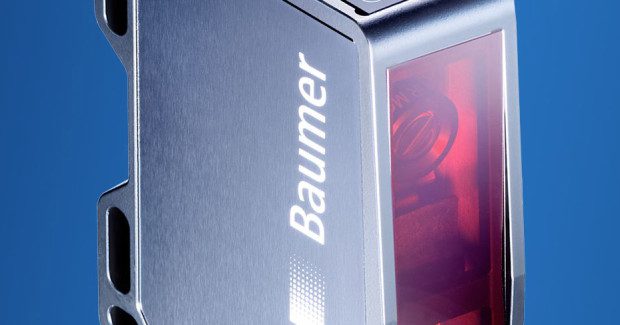
The innovative optical edge sensor PosCon 3D by Baumer Ltd. (Southington, CT) is the most powerful in its class. It will reliably master tasks which previously required complex laser measuring systems. Additionally the PosCon 3D provides impressive convenience in both operation and installation. Multiple capabilities make the sensor a versatile solution to reliably detect edge positions and object or gap width in applications such as gap control in packaging machines or width and edge monitoring in lumber and paper processing.
Requiring no separate reflector, the PosCon 3D is able to reliably measure objects regardless of movements toward and away from the sensor with no adverse effects. PosCon 3D will reliably identify any object – independent of its color and surface.


