Parts, Cameras, Scan!
Unprecedented speed, accuracy and ease-of use, combined with the fastest paths ever from art to part, make it tough for progressive shops to ignore an investment in 3D scanning.
Posted: June 6, 2014
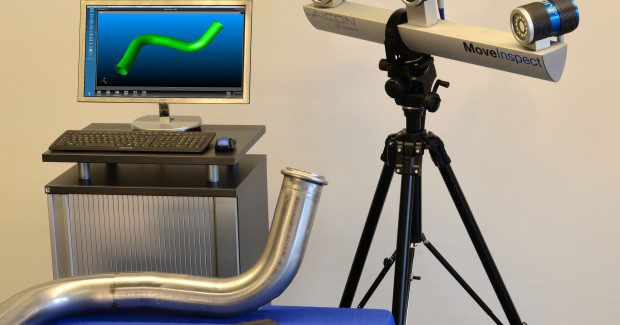
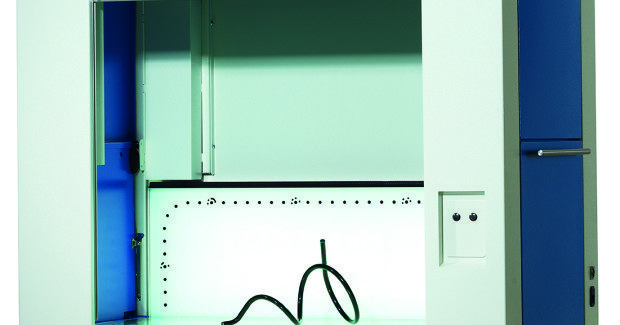
AICON also offers their new generation in 3D tube and wire measurement, the TubeInspect P-series that sets new standards in tube measurement. The system is equipped with latest camera and LED illumination technology as well as a highly precise and long-term stable glass reference. TubeInspect P8, the first model of the series, is equipped with eight high resolution cameras and suitable for tubes and wires from 1 mm up to 125 mm diameter.
The system measures with an accuracy of up to 0.035 mm. The measurement area of 1.000 mm x 600 mm x 400 mm covers 3D measurements of objects of up to 1 m in length. However, even longer tubes and wires can be measured without problems. The lateral doors allow for an overlapping repositioning section by section. This makes it possible to measure components with an end-to-end-length of up to 2 m.
TubeInspect P8 fits onto a regular Euro-pallet that saves significant transport costs and reduces the space needed for application. Due to its compact size and the various convenient functions, TubeInspect P8 can easily be transported to different sites for measuring.
AICON 3D Systems GmbH, Günter Suilmann, Biberweg 30 C, D-38114 Braunschweig, Germany, +49 (0)531 58 000 75, Fax: +49 (0)531 58 000 60, [email protected], www.aicon3d.com.
INNOVATIVE SCANNING OF EDM ELECTRODES
The quality team at Versatile Mold and Design, Inc. (Rutledge, GA), led by Albert Whitaker, the director of quality, and Trevor Martin, a quality technician, were challenged to figure out how to distinguish their company from their competitors. They felt there was no better way than to improve their quality while shortening the design and qualification cycle. Determining that the earlier in a project errors might be detected led them to a very innovative process: they would verify the correctness of an injection molding tool before any steel was cut.
Versatile Mold uses EDM to very quickly burn into pre-hardened steel and cut very precise, difficult shapes into the core and cavity of a tool. If the carbon electrodes are correct, the tool will be correct. Verifying the electrodes before wasting a $10,000 block of steel seemed to be a perfect method to guarantee quality before any chips flew.
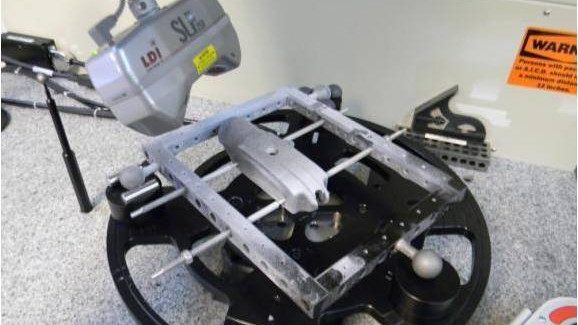
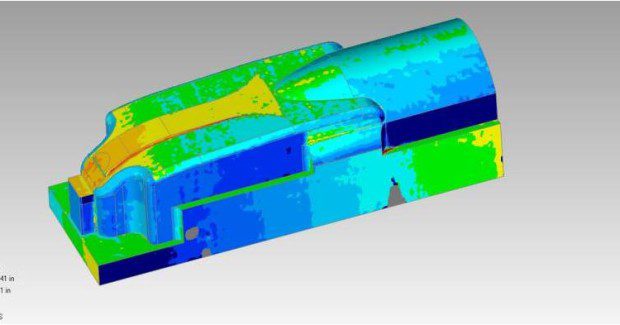
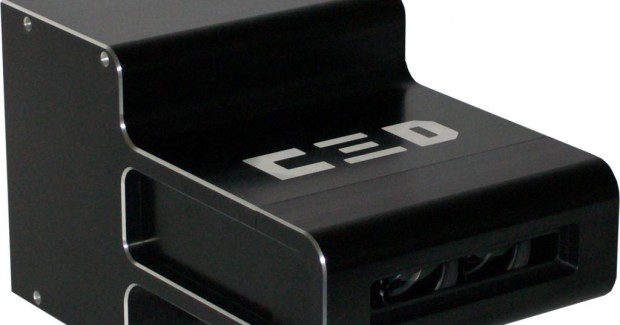
Using a SURVEYOR®-3D laser scanning system from Laser Design Inc. (Minneapolis, MN) that is accurate to 0.011 mm, each carbon electrode is scanned and compared with the perfect CAD model, complete with exacting burn allowance, draft and all features. This inspection is ideal for First Article Inspections of parts from the tool to speed up time to market.
http://youtu.be/w_6bs_gR7uE
An overview of the SURVEYOR®-3D laser scanning system from Laser Design.
One advantage of using this process is to assure that, in the case of multiple cavities, each set of electrodes matches. Martin simply scans each set and compares the two scans using Geomagic Control Inspection software. By using Geomagic – Reverse Engineering software, changes in the tooling can also be done quickly, with a modified CAD model of the changed electrode complete and verified. Versatile Mold has clearly become a center of modern-day 3D imaging technology innovation by using Laser Design 3D scanning systems.
Versatile Mold and Design, Inc., 219 Newborn Road, PO Box 158, Rutledge, GA 30663, 706-557-8397, Fax: 706-557-8196, www.versatilemd.com.
Laser Design Inc., 9401 James Avenue South, #132, Minneapolis, MN 55431, 952-884-9648, Fax: 952-516-5189, [email protected], www.laserdesign.com.
3D SCAN-TO-CAD SOFTWARE
Creaform (Lévis, Quebec), a worldwide leader in portable 3D measurement solutions and 3D engineering services, has launched VXmodel, their 3D scan data post-treatment software module that enables shops to finalize 3D scan data to use directly in any CAD or 3D printing software. VXmodel is simple, yet powerful. It includes only the features necessary to complement CAD software. Because it is fully integrated with the VXelements 3D software platform, it eliminates the need for design professionals to open, learn and use third-party software for most applications. With VXmodel acting as an integrated bridge, shops have all the tools they need to prepare their 3D-Scan files for CAD or 3D-print solutions in one easy-to-master, intuitive application.
Within VXelements, VXmodel offers several advantages:
- Alignment: Use VXmodel’s tool to constrain 3D scans using datums/entities so that shops can start their design processes on a strong foundation.
- Geometrical entities and cross-sections: VXmodel’s highly flexible and shop-friendly interface lets shops quickly segment a mesh into all the primitive entities, cross-sections and surfaces required to complete the final CAD design.
- Mesh improvement: VXmodel enables shops to improve 3D scan meshes and make them more suitable for their CAD or 3D printing processes. A variety of sophisticated tools are available to ensure shops have the perfect files before they begin their reverse engineering or 3D printing.
- Mesh editing: VXmodel helps to modify the 3D scan mesh, making it watertight and quickly generating print-ready files.
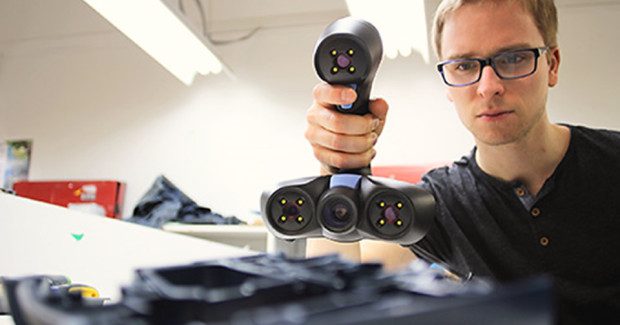
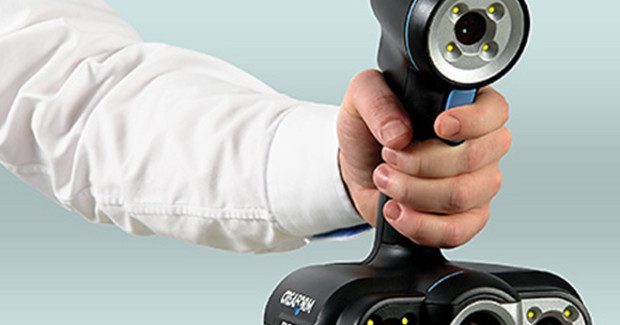
Along with the release of VXmodel are two new versions of the Go!SCAN 3D white-light scanner that provides unmatched fast and reliable 3D measurements while offering the easiest portable 3D scanning experience on the market.
An overview and demonstration of the Go!SCAN 3D white-light scanner from Creaform.
The Go!SCAN 20 delivers maximum resolution and is dedicated for use with smaller objects with intricate details, making it the perfect companion for 3D printers. Shops will attest to the Go!SCAN 3D’s multitude of benefits, including:
- High speed: Typical objects are scanned in five minutes or less.
- Professional-grade measurements: The Go!SCAN 3D provides an accuracy of up to 0.1 mm (0.004 in) and resolution of up to 0.2 mm (0.008 in).
- Full-color 3D models: Users can easily and simultaneously capture of high-quality geometry and colors.
- TRUsimplicity™: Extremely simple scanning process.
- Point and shoot: No preparation or complicated setup is required. The scanner is up-and-running in less than two minutes.
- Go!SCAN 3D scanners are tailored to the unique needs of product development engineers and technicians from all industries, along with engineers who use CAD and 3D printing professionals.
- Museology, heritage preservation, restoration, digital archiving, 3D scanning for research, analysis and publishing, multimedia, entertainment, computer graphics and special effects.
Creaform, 5825 St. Georges Street, Lévis, QC G6V 4L2 Canada, 418-833-4446, Fax: 418-833-9588, www.creaform3d.com.


